10 Actionable Video Editing Tips for Beginners in 2026

Jumping into video editing can feel overwhelming. You have hours of footage, a dozen software options, and the pressure to create something that looks and feels professional. The good news is that the gap between amateur and polished content isn't bridged with expensive gear, but with a solid grasp of fundamental principles and an efficient workflow. This guide is designed to give you exactly that.
We are breaking down the most essential video editing tips for beginners into a clear, scannable format. Forget vague advice; this is a roundup of actionable techniques you can implement immediately. You will learn the art of making precise cuts, the impact of proper color correction, and why clean audio is non-negotiable for audience retention. We will cover everything from organizing your files like a pro to mastering simple composition rules that make your shots more dynamic.
This listicle moves beyond the basics to explore how strategic transitions, platform-specific optimizations, and a consistent workflow can elevate your projects. We'll also touch on how modern tools can accelerate tedious tasks, letting you focus on the creative storytelling. By the end, you'll have a practical roadmap to transform raw footage into a seamless, engaging final product.
1. Master the Basics of Cutting and Trimming
Cutting and trimming are the most fundamental video editing skills you will learn. This process involves removing unwanted segments of footage to build a cohesive and engaging narrative. It is the foundation for creating professional-quality content, allowing you to eliminate mistakes, long pauses, filler words like "um" and "ah," and any content that doesn't serve your story.
This simple act of removing footage directly impacts your video’s pacing and viewer retention. For example, a travel vlogger might cut out the shaky, uneventful parts of a walk to jump straight to the scenic viewpoint, keeping the audience hooked. Similarly, an educational video becomes more effective when tangents are trimmed, focusing the viewer’s attention on the core lesson. Mastering this is one of the most crucial video editing tips for beginners.
Actionable Tips for Clean Cuts
To implement this technique effectively, focus on precision and efficiency.
- Use Keyboard Shortcuts: Speed up your workflow by using keyboard shortcuts. In most editing software, the J and L keys allow you to shuttle backward and forward, while K stops playback. The C key often activates the "cut" or "razor" tool.
- Prioritize the First 10 Seconds: For platforms like YouTube, the initial moments are critical. Make aggressive cuts in your intro to grab attention immediately and reduce viewer drop-off.
- Leverage AI for Efficiency: Manual trimming can be tedious. AI-powered tools like Gling can automatically detect and remove silences, bad takes, and filler words, turning hours of work into minutes.
- Review Your Edits: Always watch your cut sequences multiple times to ensure the transitions feel natural and not abrupt. To learn more about the specifics of this process, you can explore this detailed guide on how to trim video.
2. Understand Color Correction and Color Grading
Color correction and color grading are two distinct but related processes that transform the look and feel of your footage. Color correction is the technical step of fixing issues, like adjusting exposure and white balance to make your video look natural and accurate. Color grading, on the other hand, is the creative process of applying a specific color style to evoke a mood or establish a signature look.
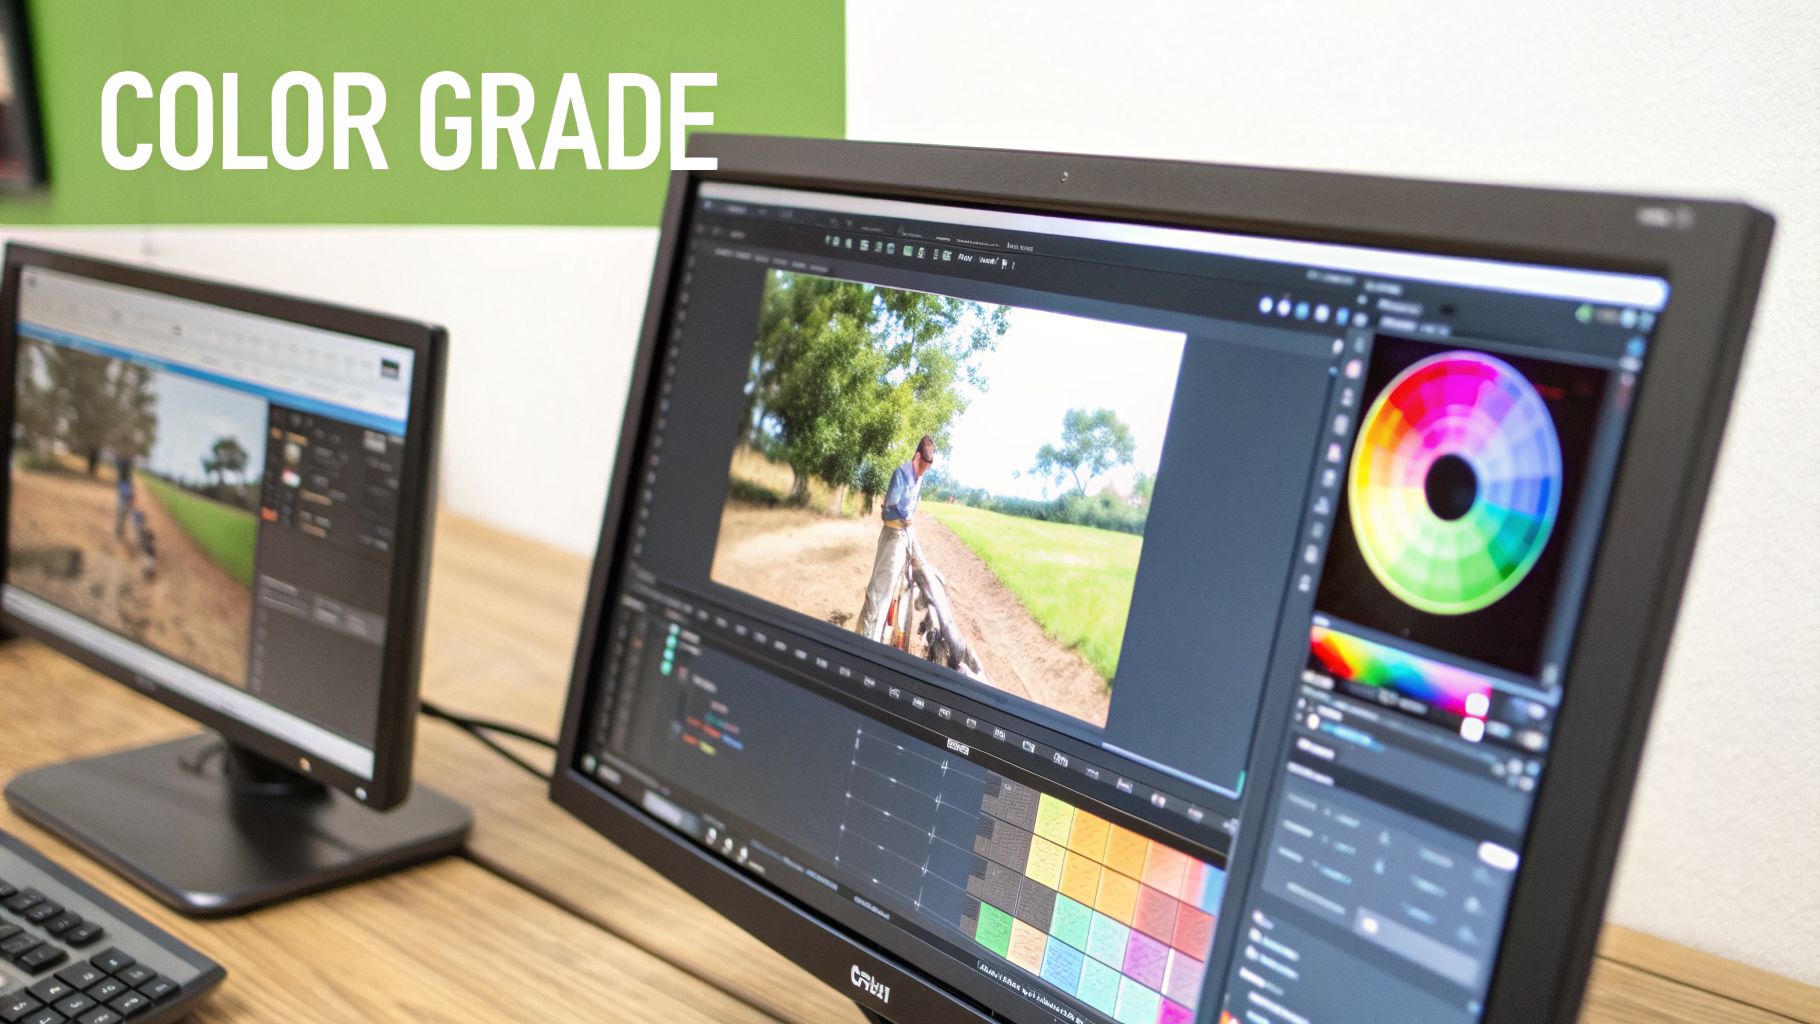
These techniques elevate your video from amateur to professional, creating a consistent visual tone. For example, Casey Neistat’s warm, slightly desaturated grade became his signature style, making his vlogs instantly recognizable. Similarly, educational platforms like MasterClass use cinematic, film-like grades to convey authority and high production value. Mastering color is one of the most impactful video editing tips for beginners.
Actionable Tips for Better Color
To implement this technique, start with the fundamentals before getting creative.
- Correct First, Grade Second: Always start by correcting your footage. Fix the white balance to ensure whites are pure white, then adjust exposure so nothing is too dark or bright. This creates a neutral canvas for grading.
- Use Adjustment Layers: To apply a consistent grade across multiple clips, use an adjustment layer. Place it on a track above your footage and apply your color effects to it. This saves time and ensures a uniform look.
- Find Professional Inspiration: Use reference frames from films or professional videos as a guide. This helps you identify the specific looks you want to achieve and gives you a target to work toward.
- Save Your Grades as Presets: Once you create a look you like, save it as a preset (often called a LUT). This allows you to quickly apply your signature style to future projects, maintaining brand consistency.
3. Add Engaging Captions and Subtitles
Captions and subtitles are essential for modern video, serving dual purposes of accessibility and engagement. They make content understandable for deaf and hard-of-hearing viewers and are critical for the 65% of social media users who watch videos with the sound off. Strategic captioning also boosts your content's discoverability on platforms like YouTube by making your dialogue searchable.
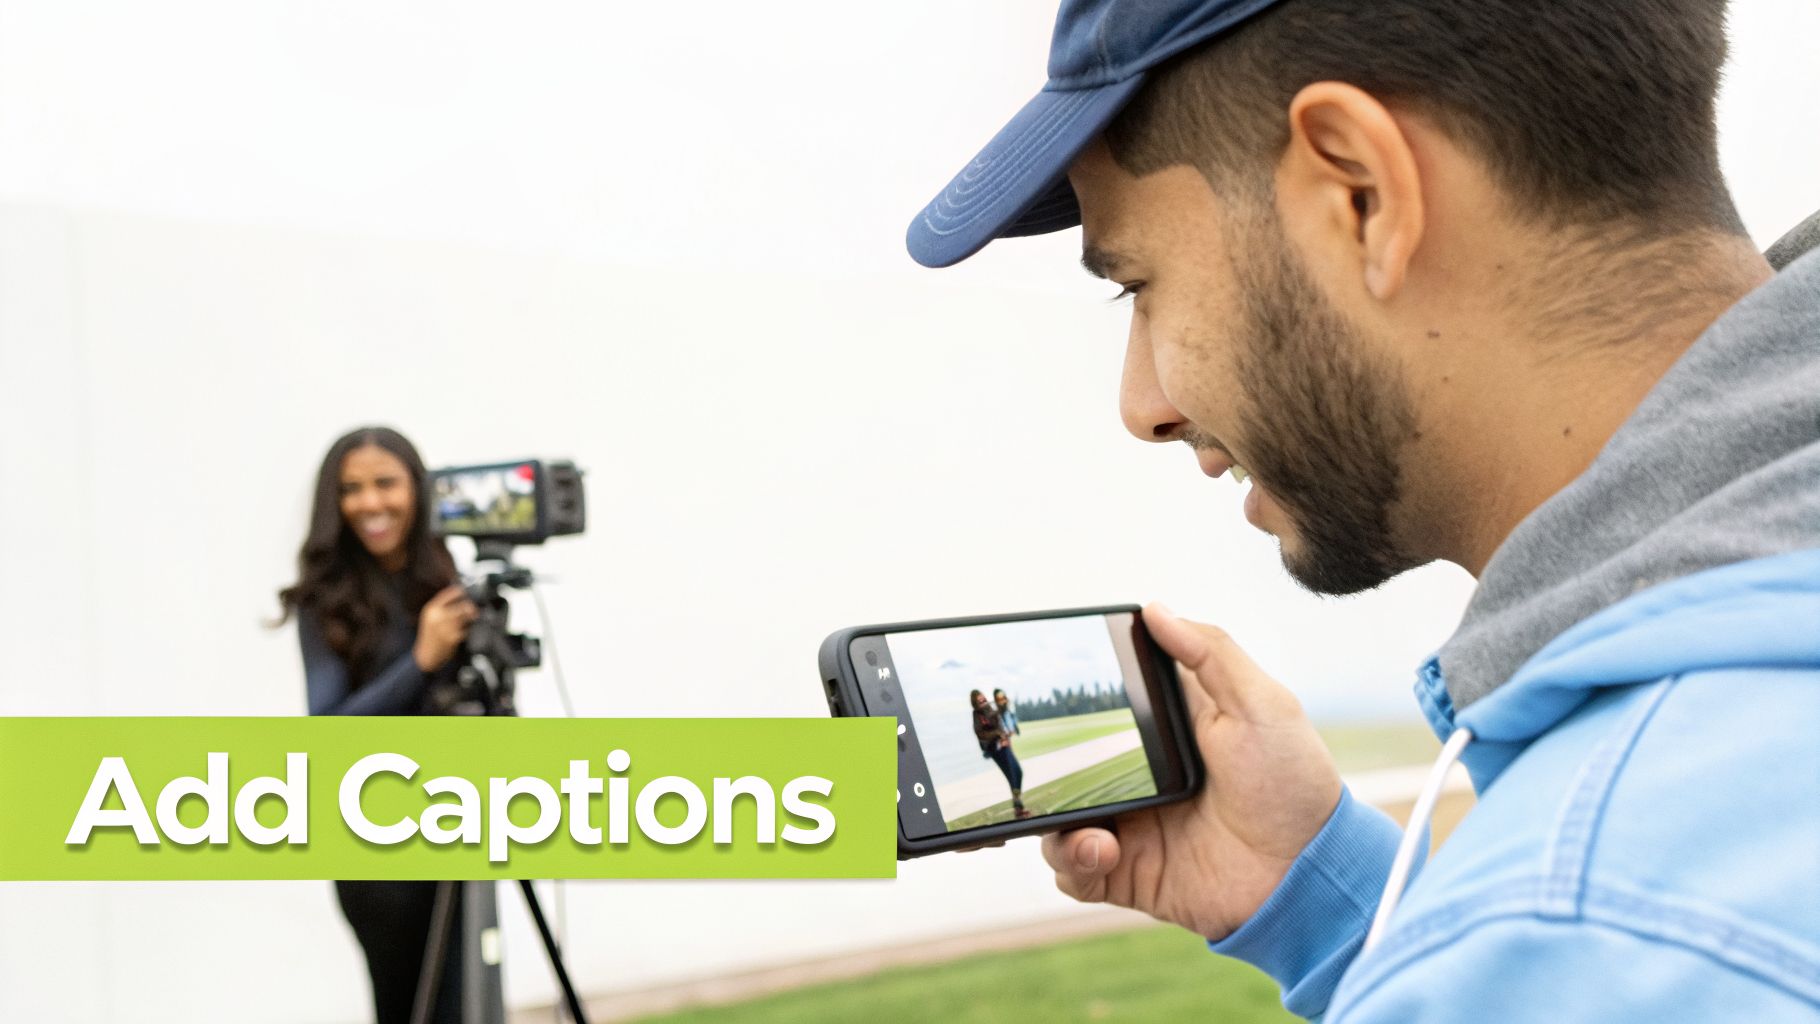
This practice is one of the most effective video editing tips for beginners looking to increase retention. TikTok creators use animated captions as a core creative element, while educational channels like Ali Abdaal use styled subtitles to highlight key concepts. Even short clips from podcasts benefit immensely from captions, making them shareable and effective on platforms like YouTube Shorts and Instagram Reels.
Actionable Tips for Effective Captions
To implement captions that enhance your video, focus on readability and style.
- Prioritize Readability: Position captions in the lower third of the screen to avoid obscuring important visuals. Use a clear font with contrasting colors and a subtle outline or background to ensure they stand out against any footage.
- Maintain Brand Consistency: Match the caption style, including font and color, to your channel’s visual branding. This creates a more professional and recognizable look across all your content.
- Proofread Meticulously: Automated captions can contain errors. Always review your subtitles for accuracy, as typos and misinterpretations can undermine your credibility. To further streamline the process of creating engaging text for your videos, consider using an AI Caption Generator.
- Use Emphasis Strategically: Add dynamic emphasis to key terms or punchlines with different colors or animations. This technique keeps viewers engaged and helps land your message. For a complete walkthrough, see this guide on how to add subtitles to videos.
4. Use Transitions Strategically and Sparingly
Transitions are visual effects that bridge one video clip to another, creating flow and visual interest. While beginners often overuse flashy transitions like star wipes or page peels, professional editors use them intentionally to direct attention, emphasize pacing, or enhance storytelling. The goal is to guide the viewer’s experience without distracting them from the content.
When used correctly, a transition serves a clear narrative purpose. For instance, a travel vlogger might use a smooth "match cut" to seamlessly shift between two different locations, creating a clever and engaging visual link. In contrast, an educational creator like Vsauce uses minimal, almost invisible transitions to maintain focus on the information being presented. This selective use is a key difference between amateur and polished video editing.
Actionable Tips for Effective Transitions
To implement this technique professionally, think about purpose before style.
- Make the Hard Cut Your Default: For most of your edits, a simple cut with no added effect is the most professional and invisible choice. Aim for at least 80% of your clip changes to be hard cuts.
- Use Transitions for Purpose: Reserve effects for specific narrative reasons. A subtle dissolve can signify a passage of time, while a quick whip pan can add energy to a scene change.
- Keep Them Brief: To maintain professional pacing, most transitions should last no longer than 0.3 to 0.5 seconds. Anything longer can feel slow and dated.
- Amplify with Sound Design: A transition feels more intentional when paired with a corresponding sound effect, like a "whoosh" or a subtle musical cue. This simple addition makes the effect more impactful.
- Match the Transition to the Tone: Your choice should align with your video’s style. Use minimalist fades for serious or corporate content, and more dynamic, stylized transitions for high-energy entertainment.
5. Master Audio Editing and Sound Design
Audio quality is often the unspoken hero of great video content. Proper audio editing involves cleaning up your sound, balancing levels, and adding elements like music and sound effects to create a professional feel. Many beginners focus solely on visuals, but audiences are far more likely to click away from a video with poor audio than one with slightly lower video quality.
Mastering sound is one of the most impactful video editing tips for beginners because it directly influences viewer perception and engagement. For instance, top YouTubers like Marques Brownlee and publications like WIRED are known for their pristine dialogue, which makes their content feel authoritative and easy to consume. Similarly, a well-placed sound effect in a comedic sketch or a subtle music bed under a tutorial can dramatically enhance the viewing experience.
Actionable Tips for Better Audio
To improve your sound, focus on clarity, consistency, and creative enhancement.
- Set Your Levels Correctly: Before and during recording, aim for your primary audio (dialogue) to peak between -6dB and -3dB. This provides a clean, strong signal without distortion.
- Balance Your Mix: When adding background music, keep its level significantly lower than your dialogue. A good starting point is around -18dB to -25dB to ensure it complements, not overpowers, your voice.
- Use Compression: Apply a compressor effect to your dialogue track to even out the volume. This makes quiet parts louder and loud parts quieter, resulting in a more consistent and professional listening experience.
- Clean Up Background Noise: Unwanted hums, fans, or echo can ruin a recording. You can learn how to remove background noise from video using dedicated tools, including AI-powered solutions that automate the process for perfect clarity.
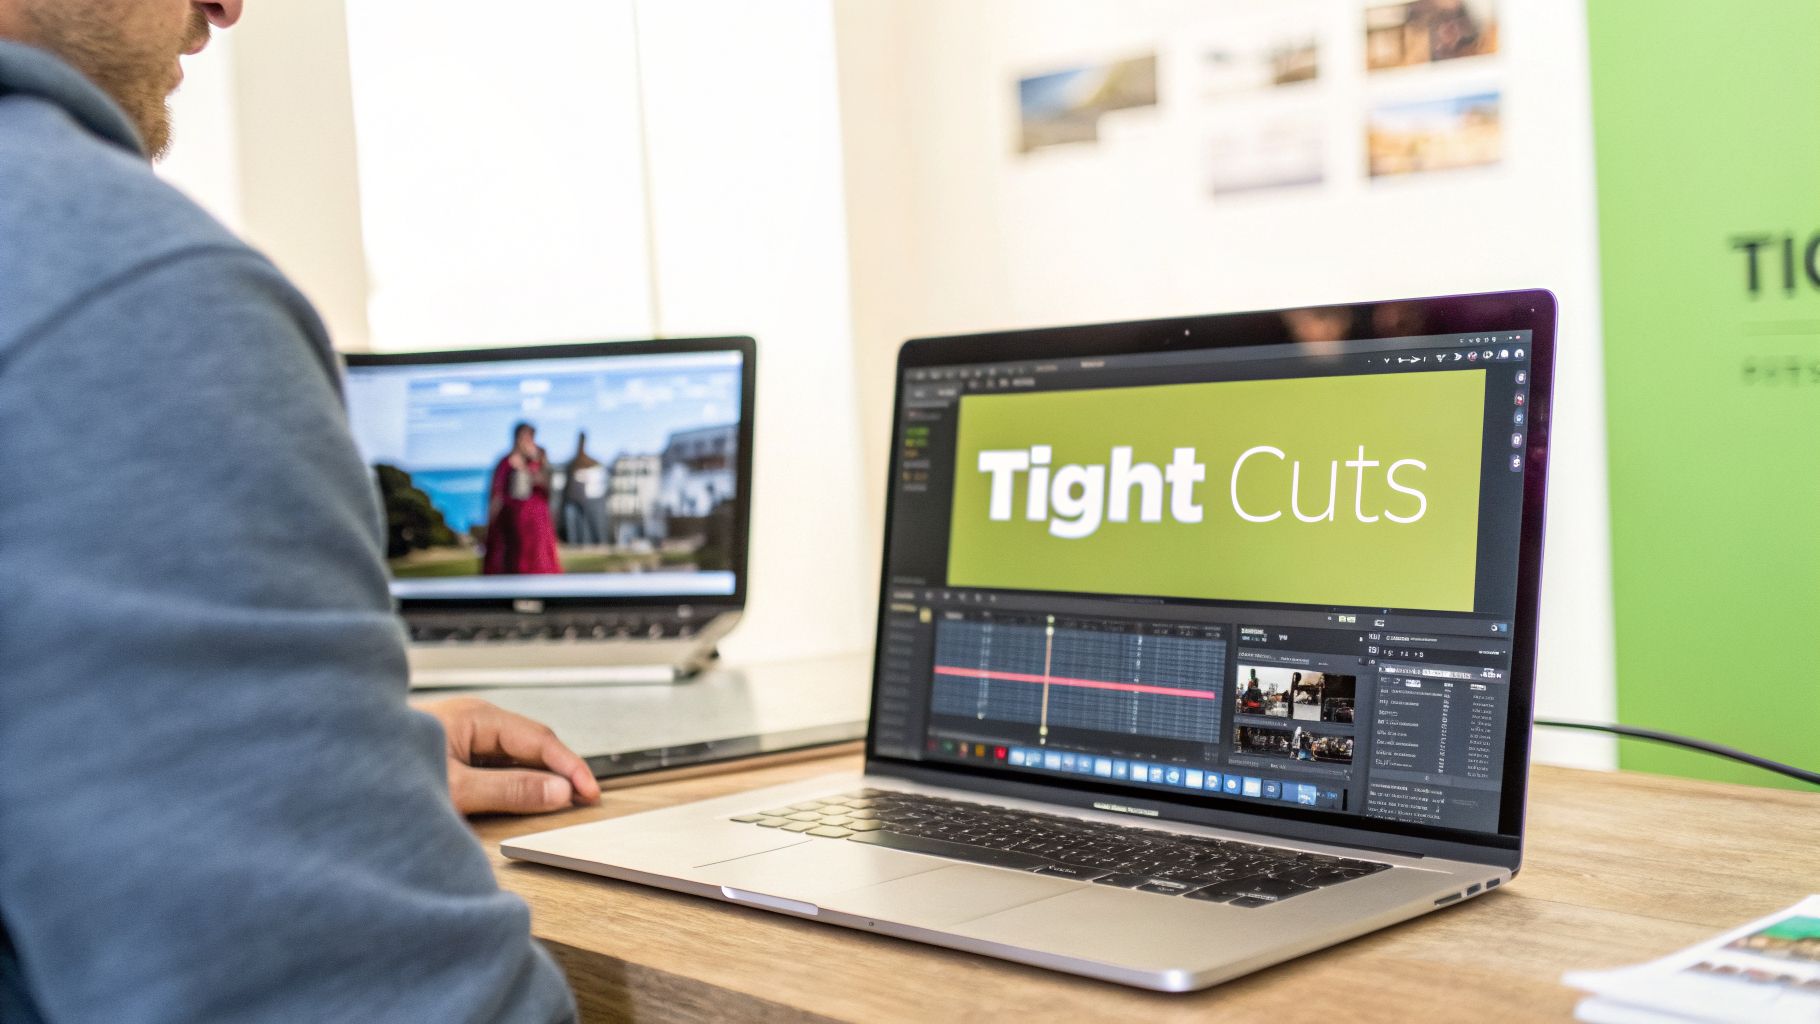
6. Organize Your Project and Manage Files Properly
Proper project organization is the unsung hero of efficient video editing. This practice involves creating a systematic way to store, name, and manage all your assets, including raw footage, audio files, graphics, and project files. A well-organized workflow prevents lost media, corrupted projects, and wasted time searching for specific clips, which is a common frustration for new editors.
This foundational step is crucial for both solo creators and teams. For example, a freelance editor using clear naming conventions like "ClientName_Project_V1" can easily track revisions and hand off projects. Similarly, YouTube production teams rely on standardized folder templates to manage multiple videos simultaneously, ensuring everyone knows where to find the necessary assets. Implementing this discipline from the start is one of the most professional video editing tips for beginners.
Actionable Tips for Project Organization
To build a robust and stress-free workflow, implement these file management habits.
- Create a Master Folder Template: Before importing anything, create a main project folder with subfolders for Footage, Audio, Graphics, Project Files, and Exports. Reuse this template for every new project.
- Use a Clear Naming Convention: Name files consistently. A great format is
YYYY-MM-DD_ProjectName_ClipNumber(e.g.,2024-10-26_TravelVlog_001). This automatically sorts files chronologically. - Implement a Backup Strategy: Follow the 3-2-1 backup rule: three copies of your data, on two different types of media, with one copy off-site. Use both an external hard drive and a cloud service like Google Drive or Dropbox.
- Use Proxies for Large Files: If your computer struggles with 4K footage, create lower-resolution proxy files. This allows for smooth, lag-free editing without affecting the final export quality.
7. Apply the Rule of Thirds and Composition Principles
While composition is often decided during filming, a good editor knows how to enhance it in post-production. Principles like the rule of thirds create visually balanced and dynamic frames that naturally guide the viewer's eye. This involves imagining your frame is divided by two horizontal and two vertical lines, creating nine equal squares. Key subjects are placed along these lines or at their intersections, not dead center.
This technique makes your shots feel more professional and intentional. For instance, in an interview, placing the speaker off-center creates a more engaging frame than a standard central shot. Nature documentaries use compositional balance to draw attention to specific elements in a vast landscape. Understanding composition allows you to make better cropping and reframing decisions, especially when working with archival footage or fixing poorly shot video.
Actionable Tips for Better Composition
You can improve your video’s visual appeal directly from your editing timeline.
- Enable Your Grid: Most video editing software has a "rule of thirds" grid overlay you can activate in your program monitor. Use this as a guide when cropping or repositioning your clips.
- Position Key Subjects: Place important elements, like a person's eyes or a key product, on the grid's intersecting points to create a focal point and add visual interest.
- Maintain Proper Headroom: When framing people, leave a comfortable amount of space above their head. Too much or too little headroom can make the shot feel awkward and unbalanced.
- Create Depth in Your Frame: Even in post-production, you can enhance depth. When choosing B-roll, look for shots with distinct foreground, middle-ground, and background elements to make your video more immersive.
- Crop for Vertical Video: When repurposing content for platforms like TikTok or Instagram Reels, use the rule of thirds to reframe your horizontal video for a vertical aspect ratio, ensuring the main subject remains the focus.
8. Develop a Consistent Editing Style and Workflow
Consistency in your editing style creates brand recognition and viewer familiarity, making your content instantly recognizable. This includes maintaining a consistent approach to pacing, graphics, color grading, music selection, and overall video structure. Developing a repeatable workflow is one of the most powerful video editing tips for beginners, as it dramatically increases productivity and ensures a uniform quality across all your projects.
This structured approach allows viewers to know what to expect, fostering loyalty and trust. For instance, creators like Ali Abdaal use consistent intro graphics and pacing, while news broadcasts rely on standardized segment structures to present information clearly. A defined style helps your content stand out in a crowded digital landscape, turning casual viewers into dedicated subscribers.
Actionable Tips for a Consistent Workflow
To build a style and streamline your process, focus on creating repeatable systems.
- Create Editing Templates: Build project templates in your editing software that include your standard title styles, branded graphics, pre-applied color grades, and common audio effects. This saves setup time on every new video.
- Standardize Your Structure: Develop a consistent intro and outro format that is easy to customize for each video. This creates a familiar "wrapper" for your content.
- Build a Curated Music Library: Organize a library of licensed music by mood, tempo, and use case (e.g., background, intro, emotional moment). This prevents you from searching for new tracks for every project.
- Document Your Process: Write down your step-by-step editing workflow. This is invaluable for maintaining consistency, especially if you plan to hire an editor or collaborate with a team in the future.
9. Optimize for Platform-Specific Requirements and Algorithms
Editing for a specific platform goes beyond just resizing your video. Different platforms like YouTube, TikTok, and Instagram have unique technical requirements and algorithmic preferences that dictate how content is discovered and consumed. To maximize reach, you must tailor your edits to meet the expectations of both the platform and its audience. This is one of the most impactful video editing tips for beginners looking to grow an audience.
This strategic approach means understanding what each algorithm rewards. For example, a long-form YouTube video benefits from a strong hook and clear chapters to boost watch time, while a TikTok video thrives on a quick, looping structure that encourages repeat views. Simply uploading the same video file to every platform ignores these nuances and limits your potential for engagement and discoverability.
Actionable Tips for Platform Optimization
To effectively adapt your content, focus on the unique demands of each platform.
- Research Optimal Formats: Before you start editing, identify the best aspect ratio (e.g., 16:9 for YouTube, 9:16 for TikTok/Reels) and recommended video length for each platform.
- Create Platform-Specific Edits: Instead of one-size-fits-all, create unique versions. Repurpose a long YouTube video into several short, vertical clips for TikTok, each with its own hook and call to action.
- Use Platform-Native Features: Incorporate features like TikTok's trending sounds or YouTube's chapters and timestamps. These elements are often favored by the algorithm and improve the user experience.
- Analyze Your Performance: Use built-in analytics on each platform to see where viewers drop off. Use this data to refine your editing style, such as making your YouTube intros shorter or your TikTok cuts faster.
10. Continuously Learn and Adapt to Emerging Tools and Trends
Video editing is a dynamic field where new software, techniques, and trends emerge constantly. A commitment to continuous learning is what separates good editors from great ones. Developing a growth mindset allows you to move beyond basic cuts and embrace innovative workflows that make your content stand out and save you valuable time. This is one of the most forward-thinking video editing tips for beginners.
The landscape of video editing is constantly evolving, making it essential to keep up with emerging technologies, especially in the realm of AI video editing. For instance, creators who adopted AI-powered caption generation saw SEO benefits on YouTube, while others used AI voice enhancement to achieve studio-quality audio for their podcasts. Staying curious and adaptable ensures your skills remain relevant and your workflow becomes more efficient.
Actionable Tips for Staying Current
To implement this principle, dedicate a small part of your routine to exploration and learning.
- Study Industry Leaders: Follow professional editors and successful creators on platforms like YouTube and Behance. Analyze how their editing style evolves over time and incorporate techniques you admire into your own work.
- Schedule Learning Time: Allocate just one or two hours each week to watch tutorials, read industry blogs, or explore new features within your editing software. Consistency is more important than intensity.
- Experiment on Low-Stakes Projects: When you discover a new tool or technique, test it on a personal or non-client project first. This low-pressure environment allows you to learn without the fear of making critical mistakes.
- Join Creator Communities: Engage with other editors in online communities like Reddit (r/videography) or Discord servers. These forums are excellent resources for discussing new trends and getting feedback.
Top 10 Beginner Video Editing Tips Comparison
Your Next Edit is Your Best Edit
Mastering video editing is a journey of continuous improvement, not a final destination. The tips covered in this guide, from foundational cuts and strategic transitions to the nuances of audio design and color grading, are the essential building blocks for creating compelling content. But the real secret to growth isn't just knowing these techniques; it's applying them consistently and intentionally. The path from beginner to pro is paved with practice, experimentation, and a commitment to refining your craft one project at a time.
Remember that you don't need to master everything at once. This list of video editing tips for beginners is a roadmap, not a checklist to be completed overnight.
Focus on Incremental Progress: Instead of trying to implement all ten tips in your next video, choose one or two areas to focus on. Perhaps this is the edit where you finally nail your audio levels or the one where you establish a consistent, recognizable color grade for your brand.
By breaking down the learning process into manageable steps, you avoid overwhelm and ensure that each new skill becomes a permanent part of your toolkit.
Key Takeaways for Your Creative Workflow
To truly elevate your content, concentrate on these core principles:
- Story First, Tools Second: A technically perfect video with no story is just a well-executed exercise. Always ask yourself: "Does this cut, transition, or sound effect serve the narrative?" Your primary goal is to engage the viewer and guide them through your message.
- Organization is a Superpower: A well-organized project file is the unsung hero of efficient editing. Taking a few minutes to label bins, sync clips, and create a logical folder structure will save you hours of frustration and allow you to stay in a creative flow state.
- Audio is Half the Experience: Viewers are far more likely to forgive mediocre visuals than they are to tolerate poor audio. Prioritize clean recordings, balanced soundscapes, and clear dialogue. This single focus can dramatically increase the perceived professionalism of your work.
- Embrace Smart Automation: The landscape of video editing is evolving rapidly. Repetitive, time-consuming tasks like removing silences, cutting out bad takes, and generating accurate captions can now be handled by intelligent tools. Leveraging this technology doesn't make you less of an editor; it makes you a more efficient one, freeing up valuable time for creative decision-making.
Ultimately, your growth as an editor is a direct result of the effort you invest. The more you edit, the more you will develop an intuitive sense of pacing, a keen eye for composition, and a unique creative voice. Don’t be afraid to experiment, make mistakes, and learn from them. The concepts outlined here are your foundation, but your unique perspective is what will make your videos stand out. Now, open your editor, import your footage, and make your next edit your best one yet.
Ready to skip the most tedious parts of editing and focus on what you do best? Gling uses AI to automatically cut silences and bad takes from your raw footage, saving you hours on every project. Try it for free and see how much faster your workflow can be. Get started with Gling