How to Convert a Video Link to a Polished YouTube Video

So, you want to turn a link into a full-blown video? It's simpler than it sounds. You just grab the URL of something you've already created—like a blog post or even another video—and paste it into an AI tool like Gling. The system does the heavy lifting, instantly generating a new, editable video without you ever needing to hit 'record' on a camera.
Why Converting Links to Videos Is Such a Big Deal
Speed is everything in content creation. Having the ability to take an asset you already own and spin it into something new gives you a massive advantage. Instead of blocking out your calendar for a full day of shooting and editing, you can breathe new life into existing content in minutes.
This is more than just a time-saver; it’s about opening up completely new ways to create without needing a bigger budget or a production team.
Take a popular blog post on your website, for example. With just its link, you could generate a companion video for YouTube, a handful of TikToks, or a quick YouTube Short. This approach puts video creation in reach for everyone, even if you hate being on camera or don't own one. It’s a seriously effective way to get your message onto more platforms.
Slash Production Time and Costs
Let's be real: the old-school video workflow is a grind. You have to script, film, edit, and then go through post-production. It can take days. When you convert a link, you get to skip almost all of that. The original link acts as your script, and the AI handles the "filming" by creating a talking-head video with an avatar and voice you choose.
This efficiency means you're not just moving faster, you're also saving money. Find out exactly how YouTube creators are saving time with Gling's AI tools.
Unlock New Content Streams Effortlessly
This method is brilliant for diversifying your content. You can take one core idea and remix it endlessly for different platforms and audiences.
- Blog Posts to Video Tutorials: Got a great "how-to" article? Turn that link into an easy-to-follow video guide for your YouTube channel.
- Podcast Snippets: Grab the link to a podcast episode, pull out a key moment, and generate a short, shareable video clip for Instagram or LinkedIn.
- Webinar Repurposing: That hour-long webinar you hosted can become a series of bite-sized educational videos. Just use the link.
Here's a powerful insight: We've seen that how-to guides created by converting links into instructional videos achieve a 35% higher conversion rate for affiliate products compared to other video formats. It just works.
The data backs this up. Short-form videos, often made this way, are projected to see a 40% higher engagement rate by 2026. This makes link-to-video a core strategy for anyone serious about growth. If you want to dive deeper, you can find more of these powerful YouTube statistics on wecantrack.com.
Bottom line? The ability to convert a simple link is one of the most powerful tools a modern creator can have.
Your Guide to Generating a Video from Any Link
Turning existing content into a fresh, dynamic video is one of the smartest ways to work. This isn't about getting bogged down in complicated software; it's about taking a simple URL and letting AI handle the heavy lifting to create a brand-new asset. Let’s walk through exactly how you can convert a video link in Gling, from pasting the URL to putting your unique stamp on the final product.
The whole process kicks off with a single action: copying and pasting a URL into Gling. This could be a link to an in-depth blog post you wrote, a popular social media thread, or even another video you’ve already published. You find the content, and Gling starts the conversion.
This visual gives you a great overview of the flow—from a simple link to a fully generated AI video.
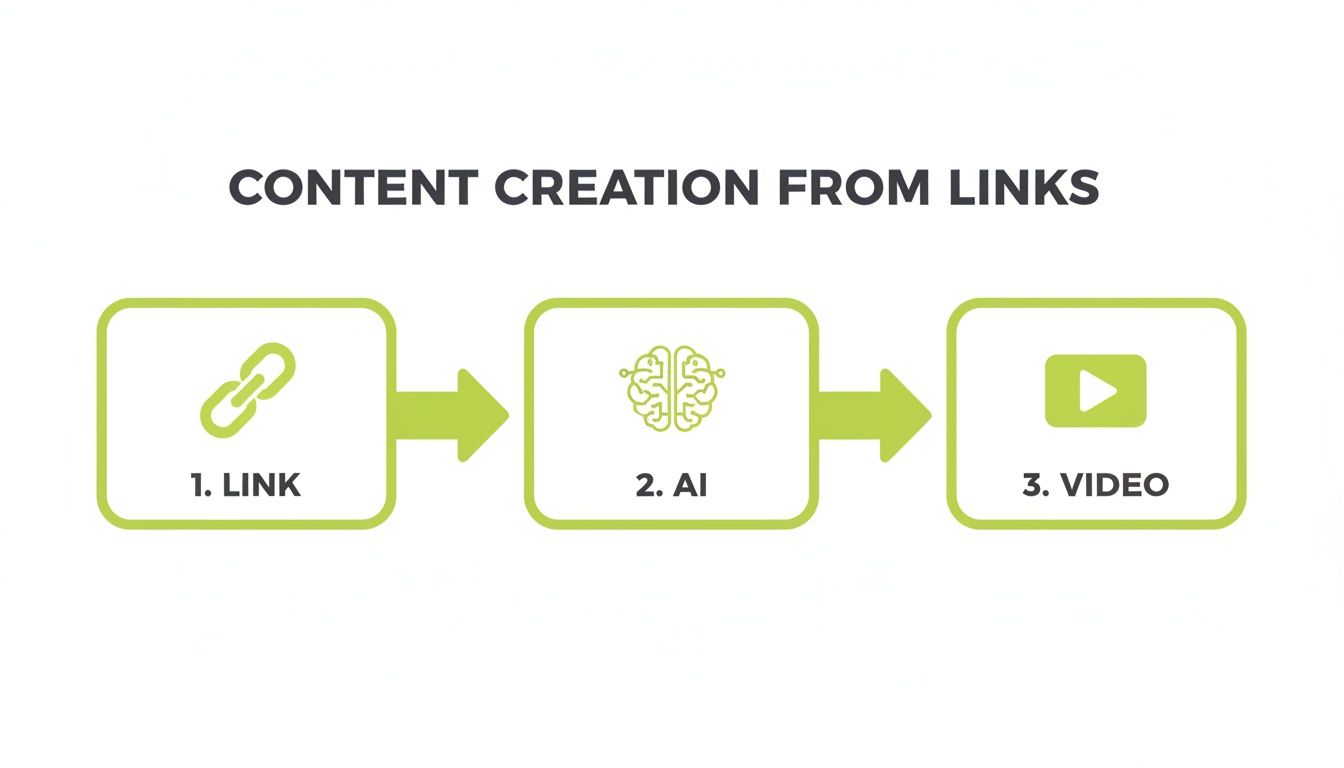
The real magic happens in the middle, where Gling's AI engine interprets your source material and automatically builds out the video's structure for you.
Choosing the Right Link for Conversion
Not all links are created equal. For the best results, you’ll want to feed the AI content that has a clear, logical structure and enough text to build a solid script from. Think of it as giving the AI good ingredients to cook with.
Here’s a quick reference guide I put together to help you decide which links work best for different kinds of videos.
Supported Link Types and Best Use Cases
The most important thing to remember is to only use links to content you either own or have explicit permission to use. This keeps your creation process clean and ensures you won't run into any copyright headaches down the road.
Personalizing Your Video with AI Avatars and Voices
Once you’ve imported your link, Gling gets to work analyzing the content and drafting a script. Now comes the fun part: deciding who (or what) will deliver that script. This is your chance to really align the generated video with your brand’s personality.
You have some incredibly powerful options here:
- Use a Custom Avatar: Just upload a short video of yourself, and the AI will generate a digital version of you that can speak any script.
- Clone Your Voice: In the same way, you can provide a voice sample to create a realistic clone. This is fantastic for maintaining brand consistency across all your content.
- Select from the Library: If you'd rather not be on camera, you can pick from a huge library of high-quality, pre-made AI avatars and voices.
This level of flexibility is a game-changer. It means you can keep pumping out consistent, on-brand content even on days when you don't have the time or energy to get in front of a camera. The ability to so easily convert a video link into a polished YouTube video is a perfect example of the real-world impact of AI powered content creation.
Pro Tip: When you're cloning your voice, find a quiet space and speak as naturally and clearly as you can. The higher the quality of your source audio, the more lifelike and convincing your AI voice will sound.
With your link imported and your presenter chosen, you’re ready to jump into the editing process and refine your new video.
Refining Your AI-Generated Video Like a Pro
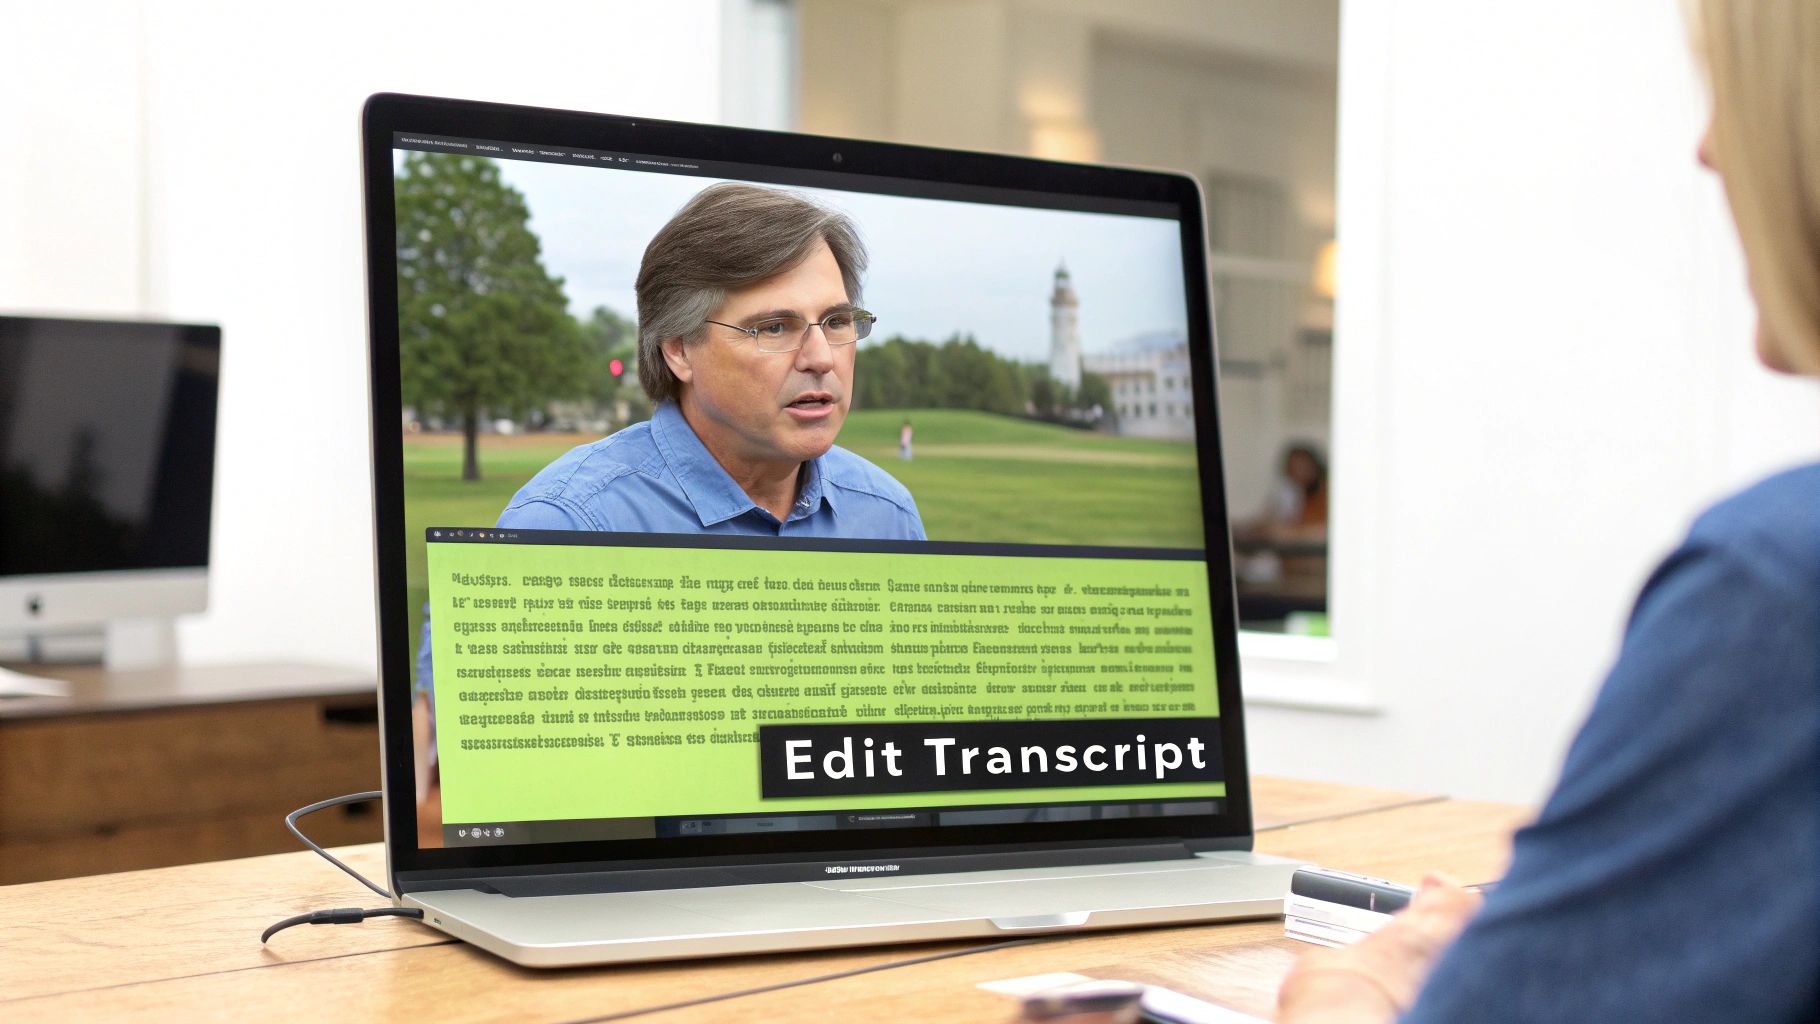
Alright, Gling has done the initial heavy lifting, and you've got your first draft. Now the fun part begins. This is where you step in to polish the AI's work and really make the video your own. The best way to do this? Forget the traditional timeline—you'll be editing the transcript directly.
It’s as simple as editing a Word doc. If a sentence sounds a bit off or you used a word you don't like, just highlight it in the transcript and hit delete. Gling instantly snips out the corresponding video and audio. This workflow is incredibly fast and intuitive.
This text-based approach is a game-changer for tightening up your delivery. You can surgically remove all those "ums" and "ahs," chop down rambling sentences, or get rid of entire tangents that don't serve the story. All of this is done without ever having to slice a clip on a timeline.
Editing this way feels like a superpower for content creators. It's no wonder, given that video is king right now. Recent video marketing statistics from sellerscommerce.com show that interactive videos have seen engagement skyrocket by 200% since 2021. On top of that, good video content is proven to boost organic traffic from search engines by a massive 157%.
Adding Polish with AI Cleanup Tools
Beyond just cutting words, Gling has some smart features tucked away that help clean up common recording issues and give your video a professional sheen.
First up is the AI pause remover. We all take natural pauses when speaking, but long, awkward silences can make viewers lose interest. With one click, Gling can find and shorten those gaps, making you sound more polished and keeping the video's pace punchy.
You can also drastically improve your audio quality. Bad audio is one of the fastest ways to lose an audience. For a deep dive, we've got a whole guide on how to remove background noise from video. This single step can make your video feel ten times more professional.
Creating a Dynamic Visual Experience
Let's be honest, a static, single-camera shot can get boring. To keep viewers hooked, you need to add some visual variety. This is where Gling's AI-powered auto-framing comes in handy.
Here’s how to make your video more visually engaging:
- Activate Auto-Zoom: This feature intelligently adds subtle zooms to emphasize key moments, drawing the viewer's eye.
- Create Jump Cuts: You can easily create your own jump cuts by splitting a clip in the transcript. It’s a great trick for adding a burst of energy.
- Layer in B-Roll: While you’re working through the transcript, you can drop in images, screen recordings, or other video clips to visually explain what you're talking about.
My Personal Tip: I always start with auto-zoom enabled and then watch it back. The AI does a great job, but I’ll often tweak the timing of a few zooms to better match the rhythm of my speech. It gives the final video a much more intentional, hand-edited feel without all the manual labor.
By mixing this easy text-based editing with smart cleanup tools and dynamic framing, you can transform a simple recording into a high-quality video in record time. It's this blend of automation and hands-on control that really makes the process work.
You've done the hard work of editing and polishing. Now it's time to get your video out into the world.
Think of this final step as packaging your creation for your audience. Gling gives you several export options, so you can tailor your final files for YouTube, a podcast, or any other platform you have in mind.
Picking the Right File Format
What you export depends entirely on where you plan to share it. Gling handles all the conversions right inside the editor, so you don't need another tool to convert a video link into a different format after you’re done. It’s all just a click away.
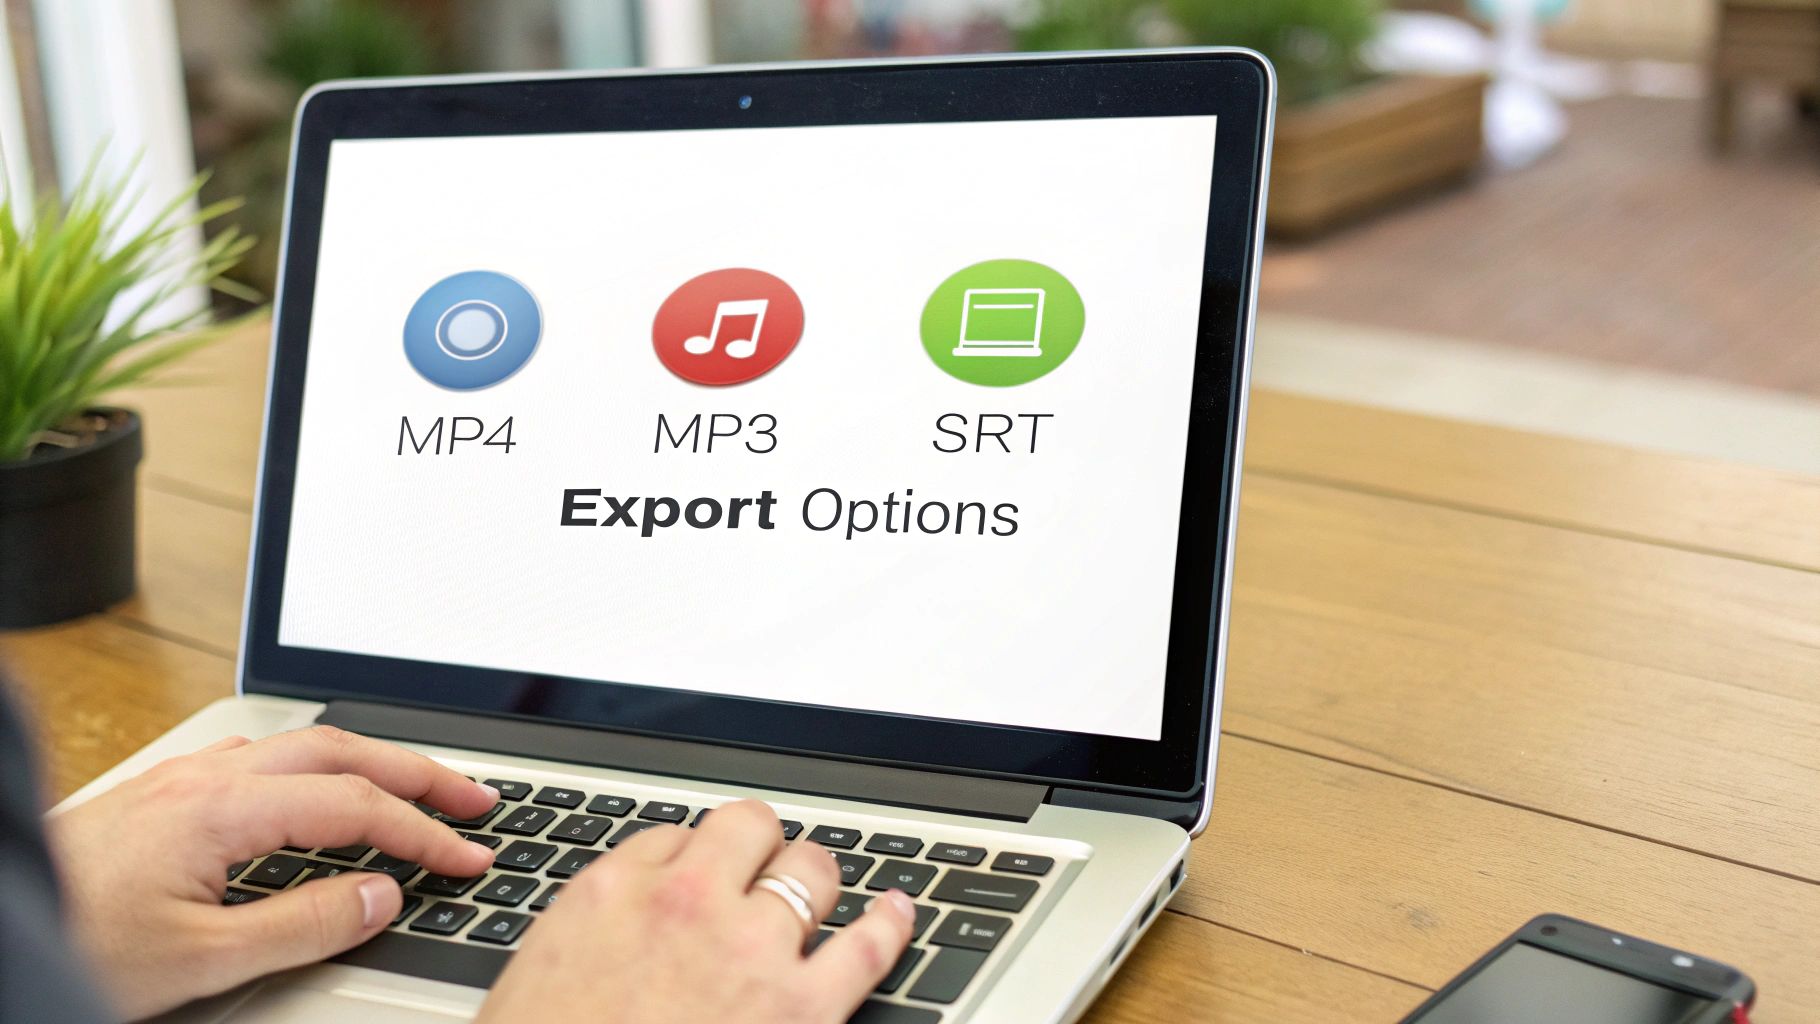
Here’s a quick rundown of your options and why you’d choose each one:
MP4 File: This is your bread and butter. The MP4 is the universal standard for video. Exporting this gives you a high-quality video file that’s ready to upload directly to YouTube, Vimeo, Instagram, or anywhere else you post video content.
MP3 File: Want to turn that video into a podcast episode or an audio-only clip? The MP3 export is perfect for that. It cleanly strips the audio from your project, giving you a small, easy-to-share audio file.
SRT File: Don't sleep on this one. The SRT file is your secret weapon for making your content more accessible and search-friendly. It’s a simple text file containing all your captions and their timings. When you upload this along with your video to YouTube, it helps viewers who are hard of hearing and gives the algorithm a full transcript to analyze, which can seriously boost your visibility.
Supercharge Your YouTube Uploads
Gling’s job isn’t done once you hit export. It has a couple of extra tricks up its sleeve to help your video perform better on YouTube, taking the guesswork out of some of the most crucial optimization steps.
First up is the AI title generator. It scans your transcript and suggests a handful of compelling, keyword-rich titles designed to grab attention and get clicks. You can either use one directly or just use them as a launchpad for brainstorming your own.
Key Takeaway: A brilliant video can easily get lost in the noise if it has a weak title. Gling's AI suggestions give you a great starting point, helping you move beyond generic titles to something that truly stands out.
Gling can also generate video chapters automatically. It analyzes your script to identify different topics and creates timestamps with clear labels. This is a massive quality-of-life improvement for your viewers, letting them skip right to the parts they're most interested in. The result? Higher engagement and longer watch times.
If you want to go even deeper on this, we've put together a full guide on how to optimize videos for YouTube.
Navigating Copyright and Common Technical Hurdles
So, you're ready to convert a video link into a fresh piece of content. This is where your creativity can really shine, but it's also where you step into the world of content ownership. Before you dive in, it’s crucial to understand the rules of the road to keep your channel safe and your work compliant.
The golden rule is beautifully simple: only use links to content that you personally own. Think of it as your own creative ecosystem. You can freely repurpose your own blog posts, social media threads, or older videos you've published. When you're the original creator, you own the copyright, which gives you a free pass to transform that content however you like, no legal headaches involved.
What if you want to use something made by someone else? This is a hard stop unless you have their explicit, written permission. Just because a link is publicly available doesn't mean it's free to use. Repurposing it without permission is a fast track to copyright claims, channel strikes, or even legal trouble.
Understanding Copyright and Fair Use
The legal side of content creation can seem intimidating, but the core idea is straightforward. The person who creates an original work automatically owns the rights to it—that includes how it’s shared, adapted, or performed.
You've probably heard the term "fair use," which sometimes allows for using copyrighted material for things like commentary, news reporting, or education. But here’s the reality check: fair use is a murky legal concept that's decided case-by-case. It's not a magic shield, and relying on it, especially for content you plan to monetize, is a huge gamble.
My Advice: The safest bet is to always assume you need permission unless you created the content from scratch. This simple guideline will save you from a world of trouble later on.
As you get ready to publish, make sure you understand how to avoid copyright strikes on YouTube—it's one of the most common pitfalls for creators.
Troubleshooting Common Conversion Issues
Even when you have all your permissions in order, technology can be finicky. The good news is that most conversion issues are minor and just require a quick fix.
Here are a few snags I’ve seen pop up and how to deal with them:
- The Link Won't Parse: If Gling can't seem to read your link, the source material is likely behind a paywall, on a private site, or protected by bot-blocking software. The easiest solution is to try a different link to a publicly accessible page.
- AI Voice Pronunciation Errors: AI voices are getting smarter, but they still stumble over unique names, brand-specific jargon, or technical terms. A neat trick is to spell the word phonetically in the transcript. For instance, if the AI says "Gling" strangely, you might try typing "G-ling" or "Glingg" to get the right sound.
- The Generated Script Is Too Long: It's common for the first draft of the script to be a bit bloated. Don't worry, you’re in the driver’s seat. Jump into the text-based editor to chop down sentences, remove entire paragraphs, and really zero in on the core message. This is your chance to be a ruthless editor.
Got Questions? We've Got Answers
Jumping into AI video generation from a simple link can bring up a few questions. It's a new way of working for many creators, so let's walk through some of the common things people ask when they're getting started.
So, Can I Really Use Any Link to Make a Video?
Not quite, but you can use most publicly available ones. The best sources are things like blog posts, published articles, and even social media threads. Basically, if the content is built around text and is open for anyone to see, the AI can usually work its magic.
Where you'll run into trouble is with content locked behind a paywall or a login screen. Private forums, members-only articles, or anything that requires a password won't work because the AI can't get in to read it. For the smoothest process, always grab a URL that's completely public.
How Good Are the AI Avatars and Voices, Really?
Honestly, they've gotten incredibly good. We're way past the clunky, robotic stuff from a few years ago. Today's AI avatars have subtle facial expressions and movements that look natural and sync up perfectly with what's being said.
The voice cloning is just as solid. If you give the AI a clean audio sample of your voice, it can create a digital version that's a dead ringer for the real thing. This is huge for keeping your brand's sound consistent across all your content. And if you’d rather not use your own likeness or voice, there's a whole library of high-quality stock options to choose from that sound professional, not computer-generated.
My Two Cents: The aim here isn't just to spit out a video. It's to create something that feels like you. The tech is finally at a point where realistic avatars and authentic voice cloning make that a reality.
Should I Just Record Myself Instead of Generating a Video?
This is a great question, and the answer is: it depends entirely on your goal for that specific piece of content. One method isn't better than the other; they're just different tools for different jobs.
- Generating from a link is all about speed and efficiency. It's the perfect move when you want to breathe new life into an old blog post as a video or churn out a bunch of social clips without ever touching a camera.
- Recording yourself gives you total creative freedom. This is your go-to when you need to convey a specific emotion, demonstrate something physical, or capture a unique environment that only a real camera can.
Think of it this way: use AI generation to scale your output and repurpose content effortlessly. Fire up your camera when a project needs that truly personal, human touch.
Ready to see how fast you can turn your existing content into fresh videos? Give Gling a try and discover a much quicker way to create. Start for free on Gling!